

Final steps Part 3
- May 11, 2015
- 4 min read
I know, I know, it's been too long, but I’ve been really busy working on "finishing" my guitar! It's been so long actually working with wood that I've almost forgotten what a wood shop smells like... I also haven't been able to take many pictures, because I don't have a camera at the moment, so this post will be a bit robbed of pictures, and I can't draw very well, so it's time to use our "imaginations"!
Last post we did a pre-finish test, and the results were amazing! (*Click HERE to for last post) When I got back to the shop we took off the strings, unscrewed the neck, and started preparing everything for "finishing".
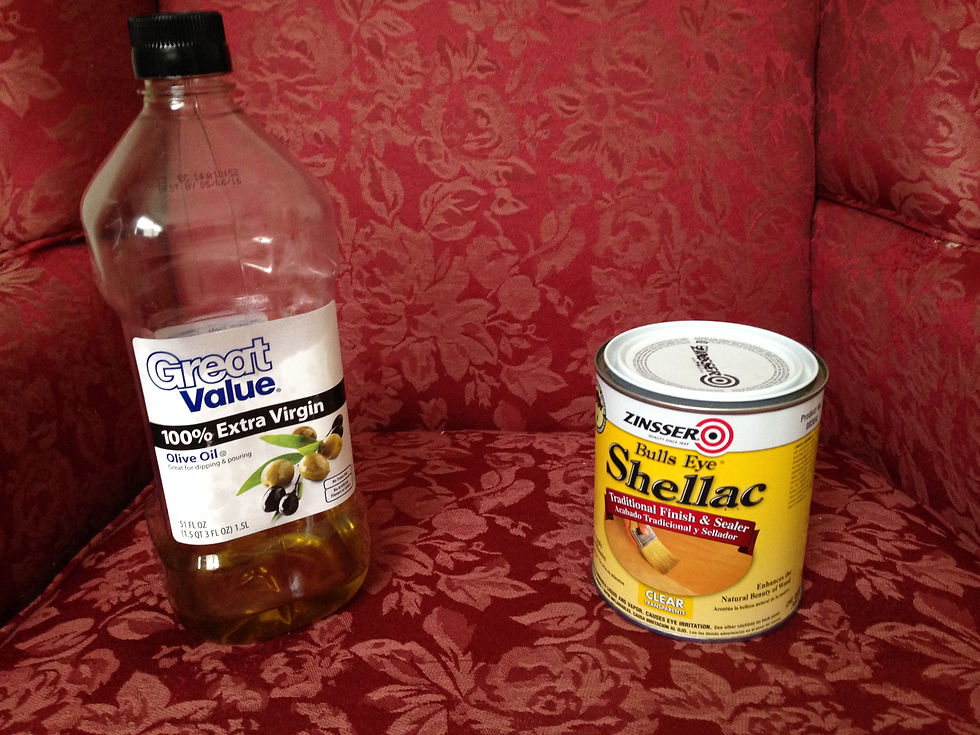
We put tape where the bridge would be, so we didn’t get any finish in that area, and went to work...or should I say "I" went to work. Brian suggested that I use a finishing method where I rub on shellac by hand, using just enough shellac to where I could polish it out to a nice matte finish.
The process was simple (or so I thought): you sand the guitar down smooth, and then using an old piece of cotton clothing you apply a bit of oil and finish to the guitar (*the oil is used so the shellac will glide along the wood without sticking), applying the finish in circular motions thin coats (to fill in the grain). You then move your cotton up and down along the grain of the guitar, making sure to get rid of any circular swirls along the way. You continue to go lighter and lighter until it's dry. After each coat is dry, you take a piece of 320 grit sandpaper and smooth out the finish, making sure to take away any remaining swirl marks.
Sounds simple enough, right? Well I had my ups and downs. Going from what I thought I knew, to something I absolutely didn't know, and so on, I realized I had put too much finish on the guitar! When I took it in and polished it out a little on the buffer we realized that a matte finish wouldn't work now. However, this was the perfect amount to start heading towards a beautiful high-gloss finish! I was excited at this prospect, because the Koa would look stunning under a thin gloss finish.
I took it home, and through the next few weeks I gallantly trudged through the muddy waters of finishing. Sometimes triumphant, sometimes passively and actively pathetic, but in the end I learned a lot! Through this time shellac, oil, and sandpaper became my new best friends.
*New Best Friends
When I got to buff the back, it started to look beautiful; finally my work paid off! I went to the sides, and then to the top... the top... and dare I say again-the top. The top was territory I hadn't yet come across, and all the problems of not knowing completely what I was doing before seemed to all be camping here. I had to trouble shoot the top by sanding it, grain filling with shellac, and then buffing it again to see where I was. I did this so many times that I am getting feverish just telling you now, but I kept going with Brian’s encouragement.. or laughter… I forget which is which while spending time with him…
I finally got it to where Brian reminded me that it was my first guitar and "good enough". I buffed it out, and it looked "okay" I guess, but I really wanted a guitar that looked just as good as it was built, and it is an incredibly well built instrument if I do say so myself.
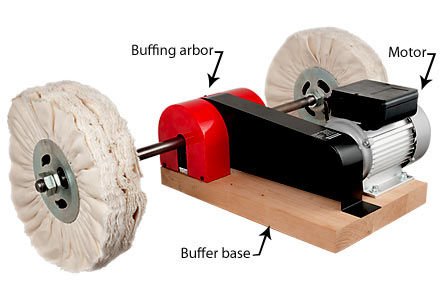
*Example of buffer
After I finished buffing we put the guitar back together, got the neck angle straight, worked on the peg holes a bit, and then put on the tuners and strings. The action was almost perfect right away! We tuned it up and I got to take the guitar home for the night. The next day we would do a set up, get the pinhole holes right, and then cut the soundhole.


*Guitar after rubbing shellac and buffing
When I came back Brian had an idea up his sleeve. He didn't like the thought of the finish being jut "okay" and only partly shiny. He wet sanded (*sandpaper soaked in water) a spot on the top and then I added a few coats of finish. Then, after playing it he let his idea unfold on how to get this great instrument an also stunning gloss! The plan was to sand the top down and then spray on a few coats of water based lacquer. That was a relief to me! I was so happy we weren't settling on this instrument.
I grain filled a few areas on the guitar, and after we did even more work on the pin holes, and then finally did a "set-up" (*a set up is where you adjust the guitars action, intonation, fret buzz, or neck relief by adjusting the truss rod, and or the saddle and nut, and if needed you file down the frets making the whole fretboard a smooth surface to play on). Thankfully, we didn't have much to do except to file down a fret and make all of the frets shine.
The next time I visit the shop we'll be cutting the side soundhole, and spraying on the finish!
Finishing is the hardest part they say, and now I'm right there with them, but I'm still very glad about everything I'm learning and have learned, even if I hate it while I'm doing it. This guitar already rocks, and is going to just get better!
Thanks for reading! If you liked this post and want to get updates about where I am in guitar land then please enter your email into the subscription box below.
If you would like to learn more about my teacher Brian, his guitars, or how you can also learn to build your very own guitar from scratch, then click HERE for his website, or HERE to "Like" his Facebook page!
Later days,
~Daniel
Comments